

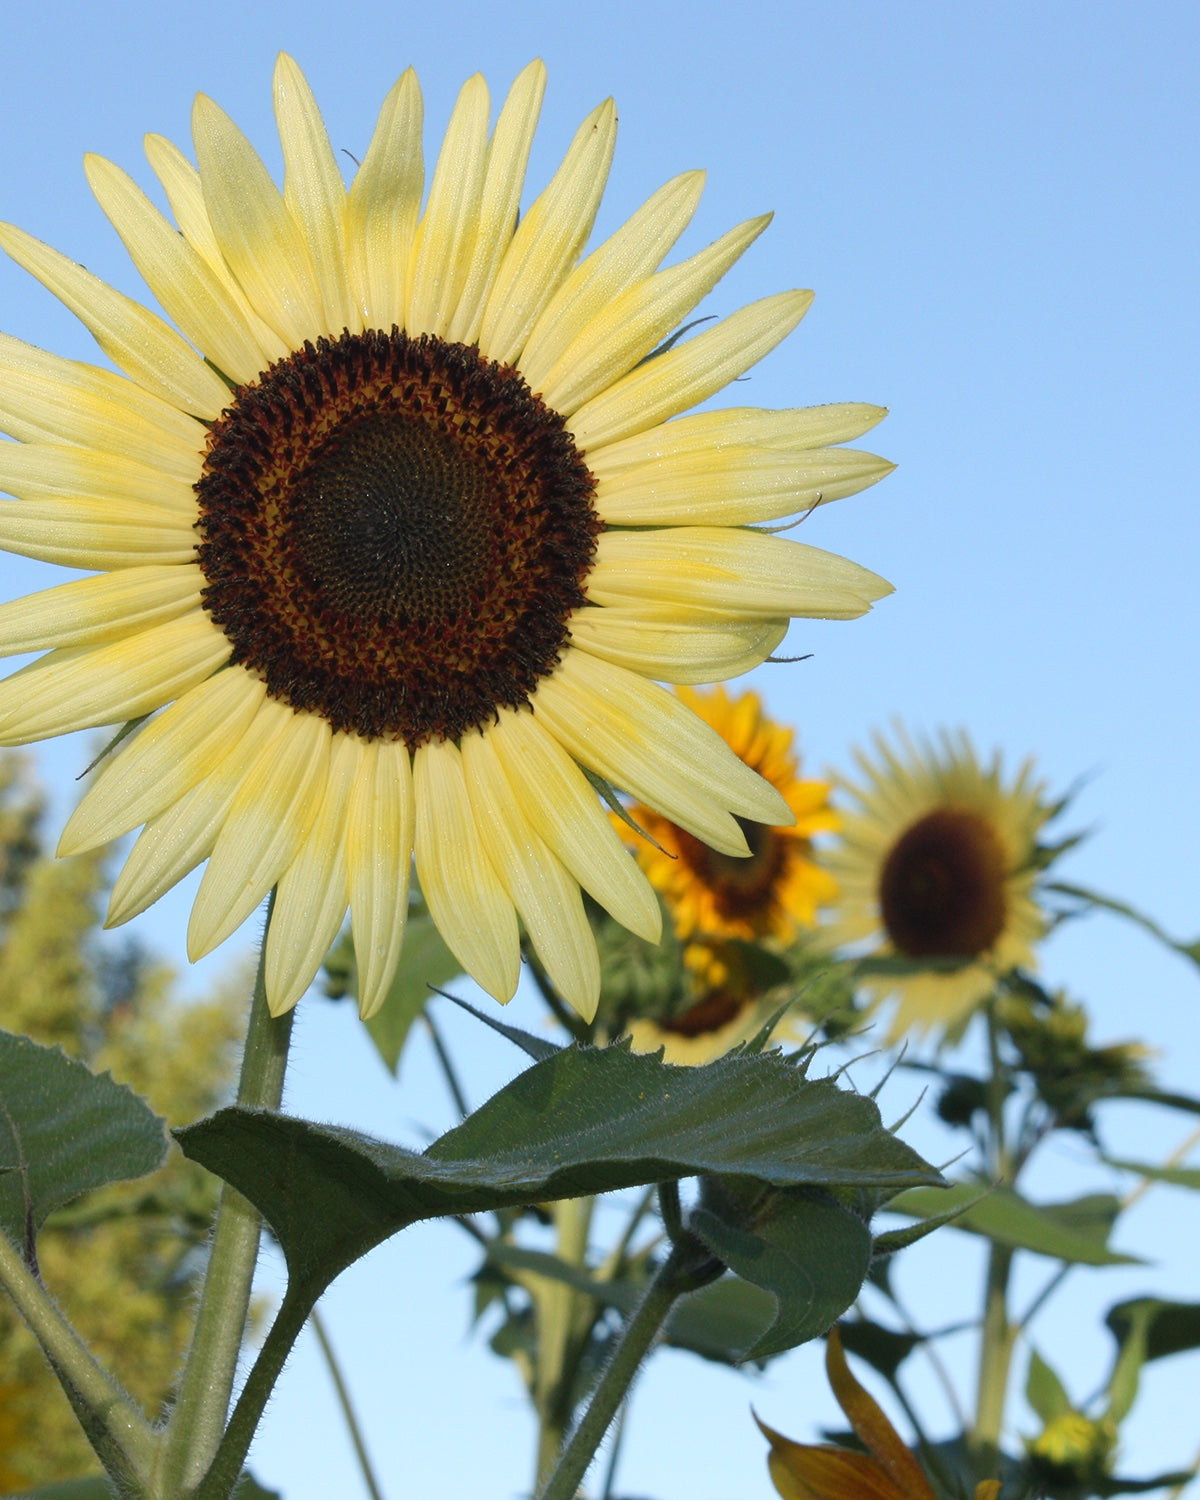
Flower Seeds


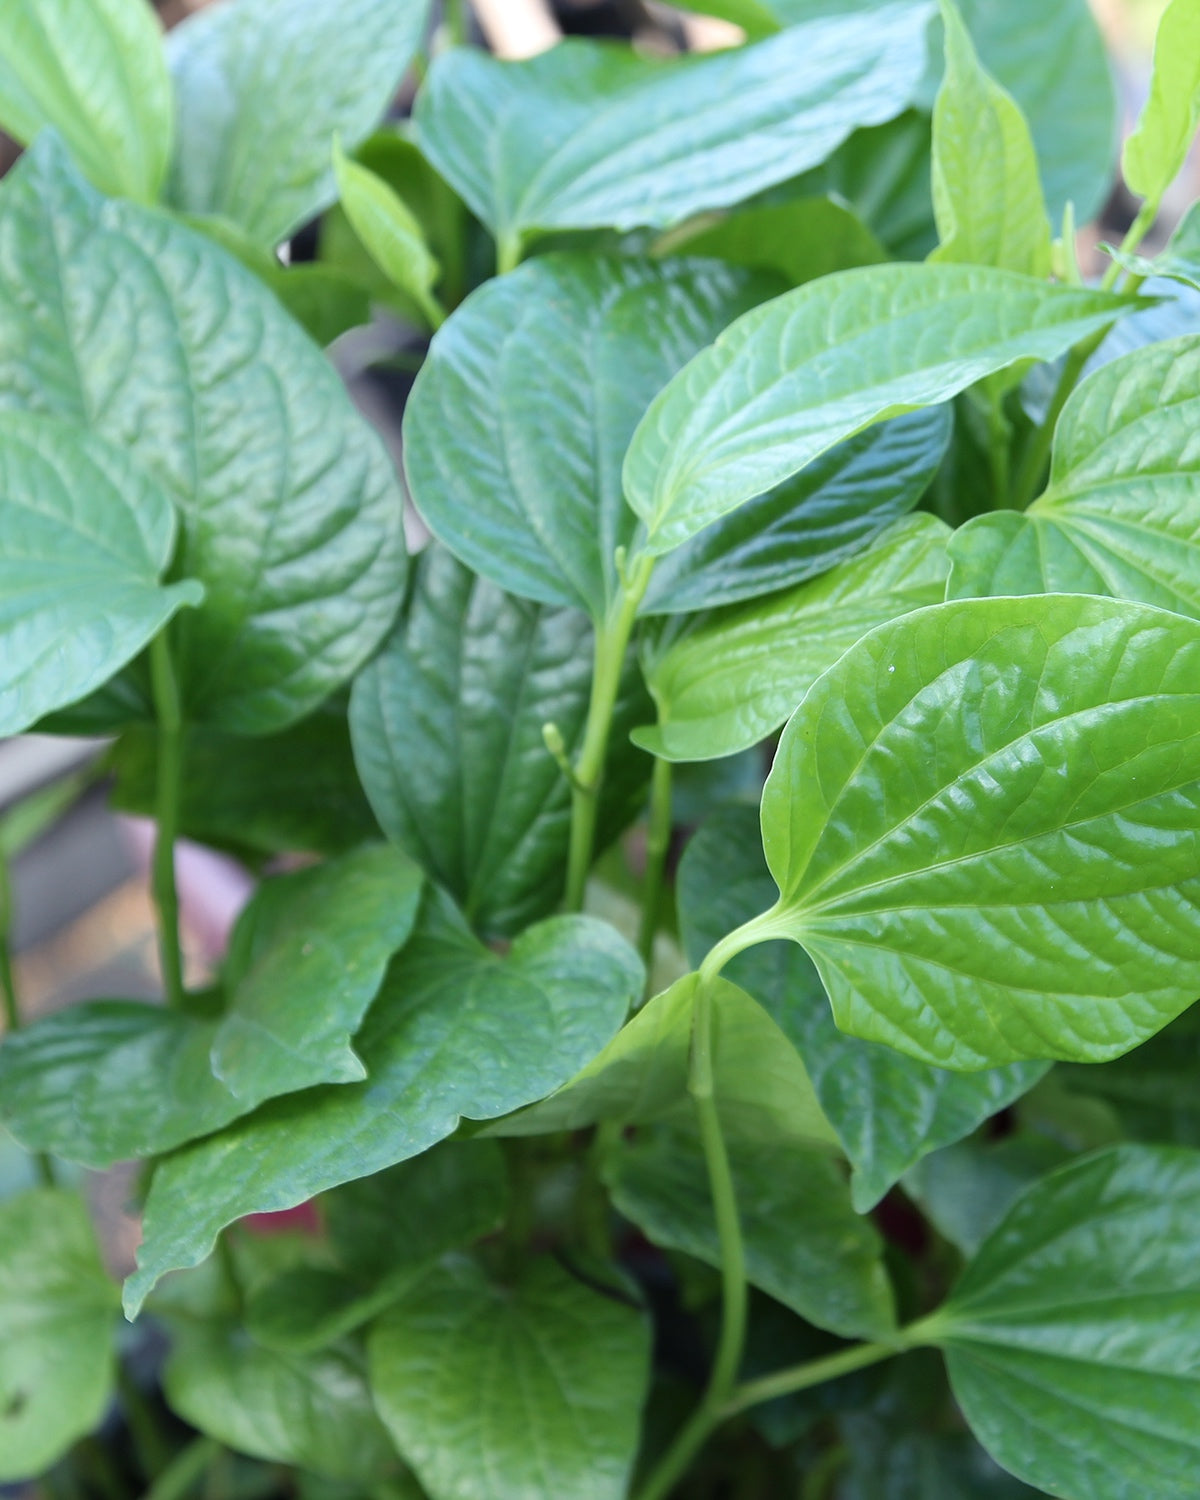
Other Seeds


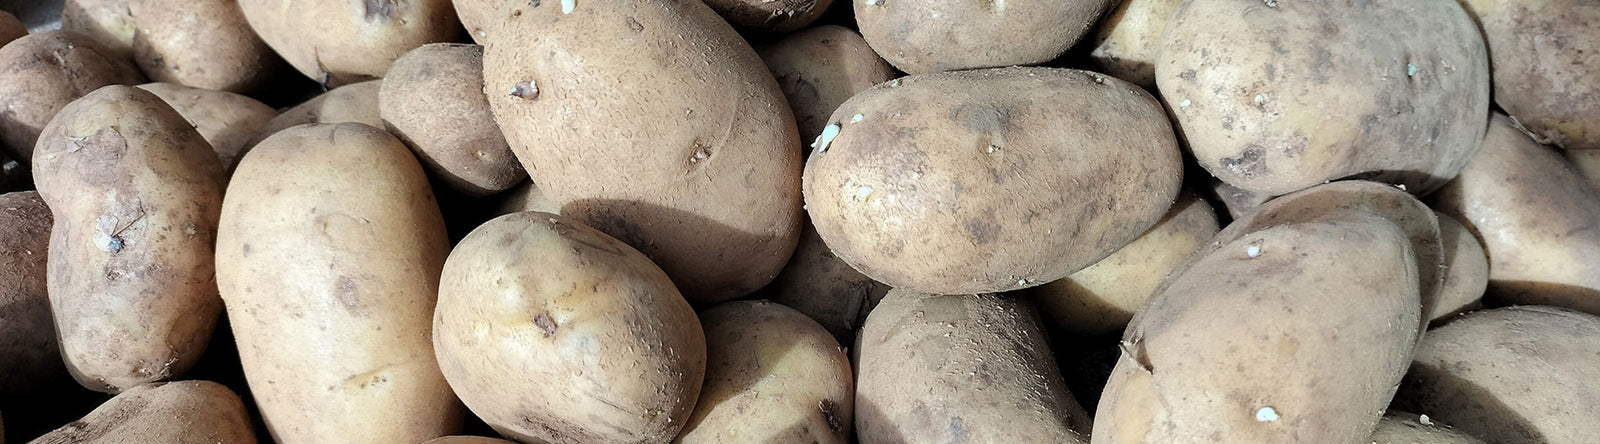

Seed Potatoes - Now in Stock
Dutch Cream, Nicola, Sebago & White Star


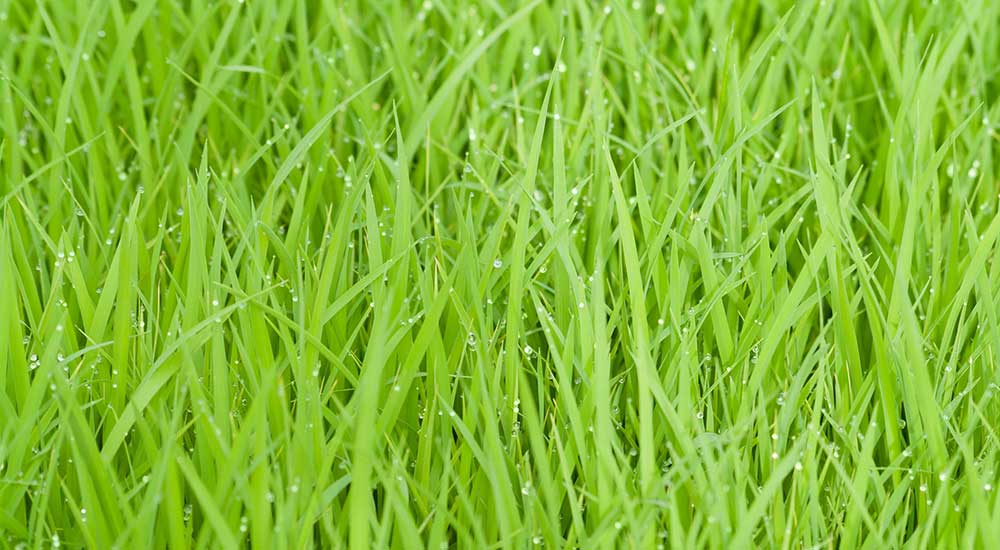
Growing 250+ seed varieties on our two farms near Taree.
Welcome to Greenpatch Organic Seeds! We are an Australian Owned Family Business, providing you with a large range of Untreated, Non-Hybrid Seeds. With a strong focus on old fashioned Heirloom Seeds, NON-GMO Seeds and Open Pollinated Varieties.
Want to know more?


Are you a Greenpatch Member?
Join Now
By becoming a Greenpatch member you receive exclusive discounts off all our products helping you save throughout your membership.
For a $35 yearly subscription you receive:
6 seed packets of your choice
10% discount store wide
Exclusive access to new products
Spring, Summer, Autumn & Winter Newsletters.
Come and Visit
Open Monday - Friday 9am - 4:30pm
Closed Weekends & Public Holidays
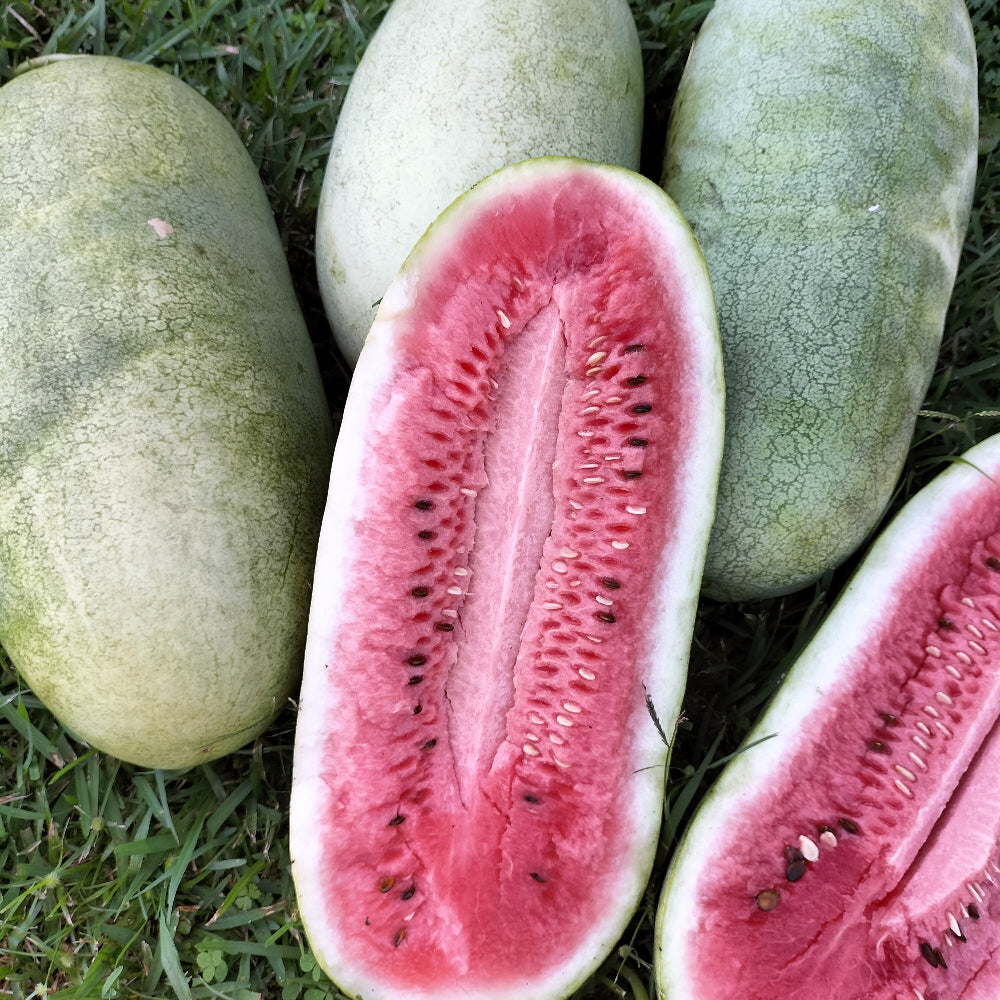

Melons a Plenty - Rockmelons & Watermelons
Melons are an annual vine, easy to grow and relatively pest and disease free. By planting in spring the plants have enough time to grow well through the hottest time of the year. Included in this group are the green fleshed Honeydew, traditional orange Rockmelon and red or yellow fleshed Watermelon.
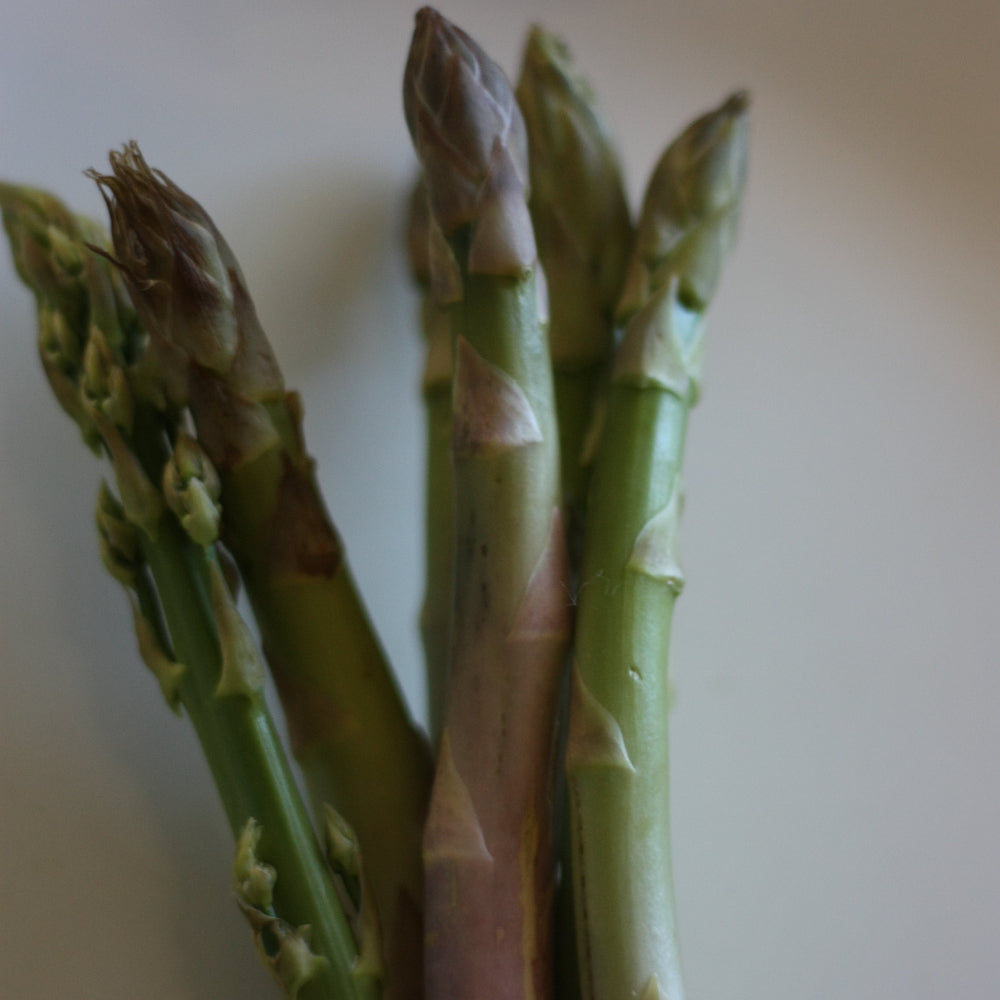

Growing Asparagus
Asparagus is an edible perennial plant, native to Central Europe and Western Asia. It is a member the lily family. The Ancient Greeks enjoyed eating the wild asparagus then was cultivated by the Ancient Romans. It is easily grown in the garden at home.
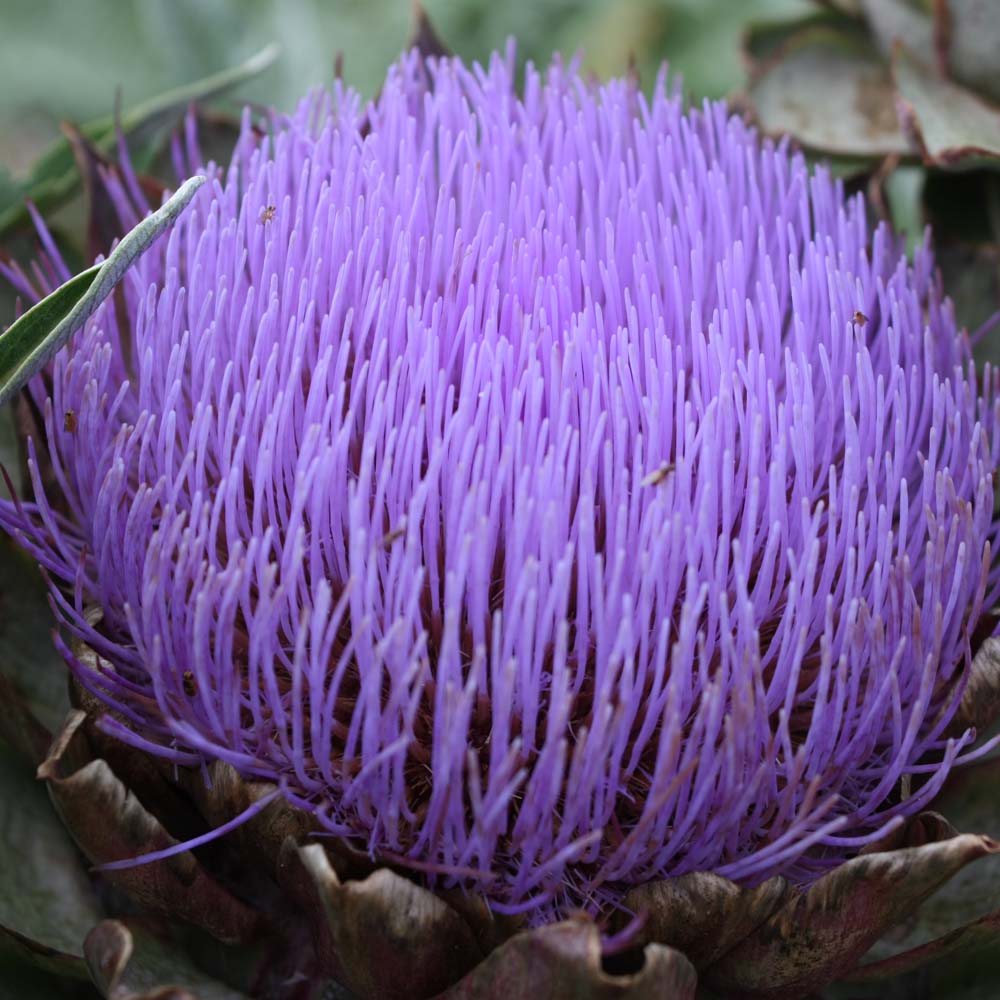

Brighten Your Winter Garden
With the cooler weather finally here and winter well and truly on its way, brighten up your vegetable garden by choosing to plant the coloured winter vegetables. Many of the varieties available are easy to grow, look great and taste fantastic as well.
Read More

